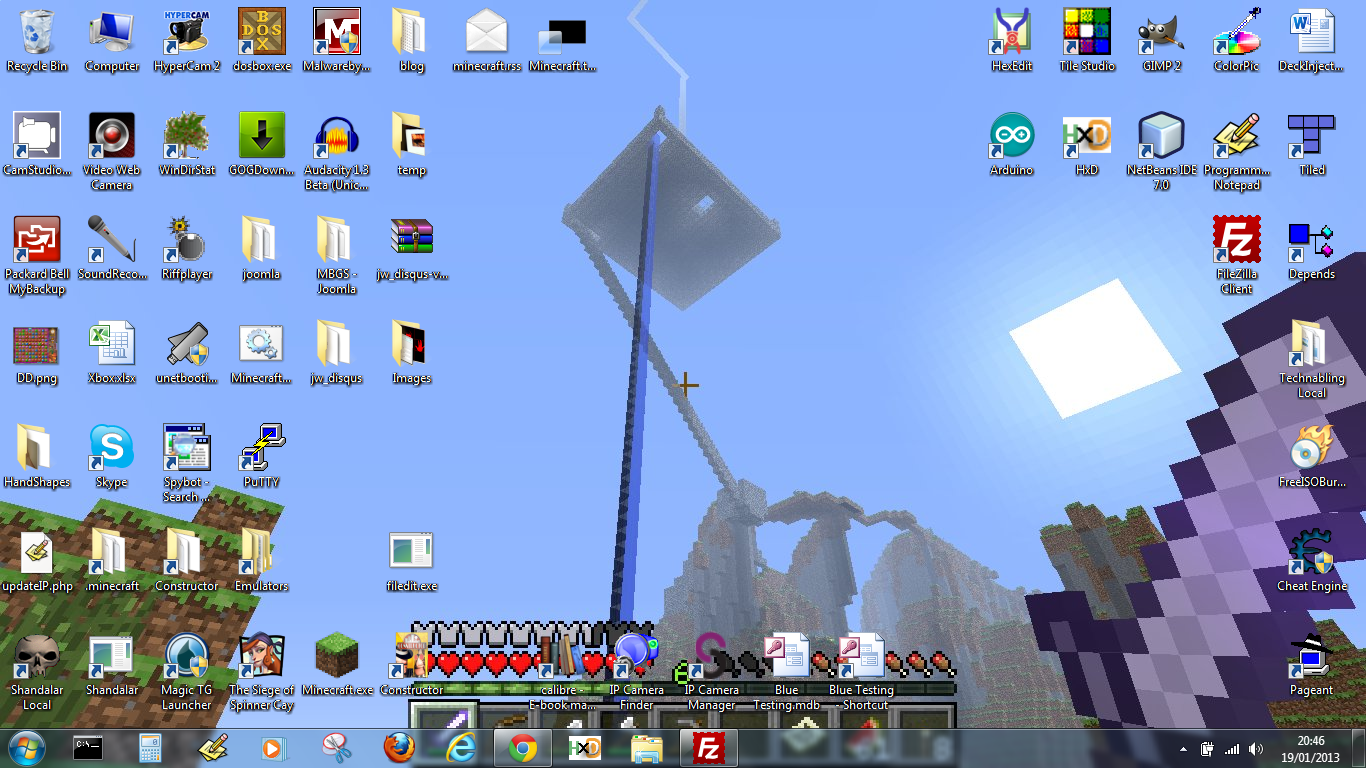
A Windows RSS wallpaper theme constantly updated with new Minecraft related pictures.
I was interested in how the internet-backed, changing desktop wallpapers from Microsoft worked. You know the ones, where you select a theme in Windows 7 and it tells you that the theme is backed by RSS and will download new pictures as they become available. I had the water based picture one running for a while but it wasn't updated often enough so I decided I wanted to make my own.
Since I was quite into Minecraft I decided it would be fun to have my background automatically update with pictures from my world and I have to admit it is!
You can downloaded the theme at the bottom of the page or follow the instructions to make your own. I opted to use Minecraft pictures but obviously if you decide to make your own then you are free to use any pictures you like!
Here is a step by step guide on how I created the auto-updating wallpaper:
1. First off your going to need some web space to store your images and RSS feed on. Clearly I already had this and have stored them on MyBrillGameSite. You can probably use free sites instead such as Angelfire so go get some web space if you don't have already.
2. Make a directory in your web space for your wallpaper images if you want to keep them separate from the rest of the site and upload some images into. I've put mine into a directory called mcWallpapers just to keep it tidy.
3. Create the .rss file. This is a simple XML file which you can create with notepad or any similar editor. You can name it what you want but I recommend (and you may have to) giving it the .rss extension. I called mine minecraft.rss. Inside this file we are going to list all the images to show on our desktop and also add a little meta-data so that our theme can use it. So open notepad or similar and then copy and paste the following into it:
<?xml version="1.0" encoding="utf-8">
<rss version="2.0">
<channel>
<title>Minecraft Images</title>
<link>http://www.mybrillgamesite.com/</link>
<description>Images from Minecraft.</description>
<item>
<title>Cabin</title>
<link>http://www.mybrillgamesite.com/images/mcWallpapers/Cabin.png</link>
<guid>http://www.mybrillgamesite.com/images/mcWallpapers/Cabin.png</guid>
<pubDate>Tue, 15 Jan 2012 19:23:41 GMT</pubDate?>
<description>A cabin.</description>
<enclosure length="123456789" type="image/png" url="http://www.mybrillgamesite.com/images/mcWallpapers/Cabin.png"/>
</item>
</channel>
</rss>
Obviously replace my details with yours! If you aren't using .png images then be sure to change the value of 'type' in the 'enclosure' tag to whatever type of image you are using such as "image/jpg". The 'length' value doesn't seem to make any difference.
Each image you want to show comes under a separate <item> tag so just repeat them for as many images as you want to cycle through filling in the detail of each new image as you go.
4. Upload the .rss file to your web space and make note of where it is. Mine is at https://www.mybrillgamesite.com/files/minecraft.rss you can actually download it if you want to see what the whole file looks like.
5. Now we need to make the .theme file. This is the file that people will download and run to set your RSS image feed as their desktop. This file is also made in notepad and this time has the .theme extension. The name you give this file should really match the name of the theme but it doesn't have to. Mine is Minecraft.theme perhaps unsurprisingly.
Once you have made the file copy and paste the following into it:
[[Theme]
DisplayName=Minecraft
[Slideshow]
Interval=1800000
Shuffle=1
RssFeed=http://www.mybrillgamesite.com/files/minecraft.rss
[Control Panel\Desktop]
TileWallpaper=0
WallpaperStyle=0
Pattern=
[Control Panel\Cursors]
AppStarting=%SystemRoot%\cursors\aero_working.ani
Arrow=%SystemRoot%\cursors\aero_arrow.cur
Crosshair=
Hand=%SystemRoot%\cursors\aero_link.cur
Help=%SystemRoot%\cursors\aero_helpsel.cur
IBeam=
No=%SystemRoot%\cursors\aero_unavail.cur
NWPen=%SystemRoot%\cursors\aero_pen.cur
SizeAll=%SystemRoot%\cursors\aero_move.cur
SizeNESW=%SystemRoot%\cursors\aero_nesw.cur
SizeNS=%SystemRoot%\cursors\aero_ns.cur
SizeNWSE=%SystemRoot%\cursors\aero_nwse.cur
SizeWE=%SystemRoot%\cursors\aero_ew.cur
UpArrow=%SystemRoot%\cursors\aero_up.cur
Wait=%SystemRoot%\cursors\aero_busy.ani
DefaultValue=Windows Aero
Link=
[VisualStyles]
Path=%SystemRoot%\resources\themes\Aero\Aero.msstyles
ColorStyle=NormalColor
Size=NormalSize
ColorizationColor=0X6B74B8FC
Transparency=1
[MasterThemeSelector]
MTSM=DABJDKT
The important things here are DisplayName which is the name of your theme as it will appear in the theme select window in Windows and RssFeed which is the full address to your RSS feed file you took note of earlier. The rest of the fields control the properties of the rest of the theme such as the rate of change for the background image, the cursors used and the window styles. You can play with these to see the difference they make but I'm not going to dwell on them. 6. Once the .theme file is saved you can double click it and it will open the theme window for you and ask you if you want to let the theme download images from the internet to display. Hit Yes and your background should go black. After a few moments the first image will display (it takes a few moments as the images need to download first).
7. You can now share your .theme file and people will be able to enjoy your backgrounds! One of the easiest ways to share it is to upload the .theme file to your web space and share the link to it. Be sure to tell people to right-click and select 'Save Link As...' or the file will just be shown in their browser, alternatively put it in a .zip.
8. When you add new images just add their details to a new <item> tag in the .rss file and upload it to the same spot again. The theme will automatically add the new image to the selection of wallpapers for the theme.
9. By default your computer will only check for updates once a day. This is probably enough but if you want to change it along with some other settings (such as the maximum amount of images to save) then you can do so in the feed properties. If your feed doesn't seem to be updating or you want to force a manual update (useful if you've just added new images and want to see them straight away) you can also do this here.
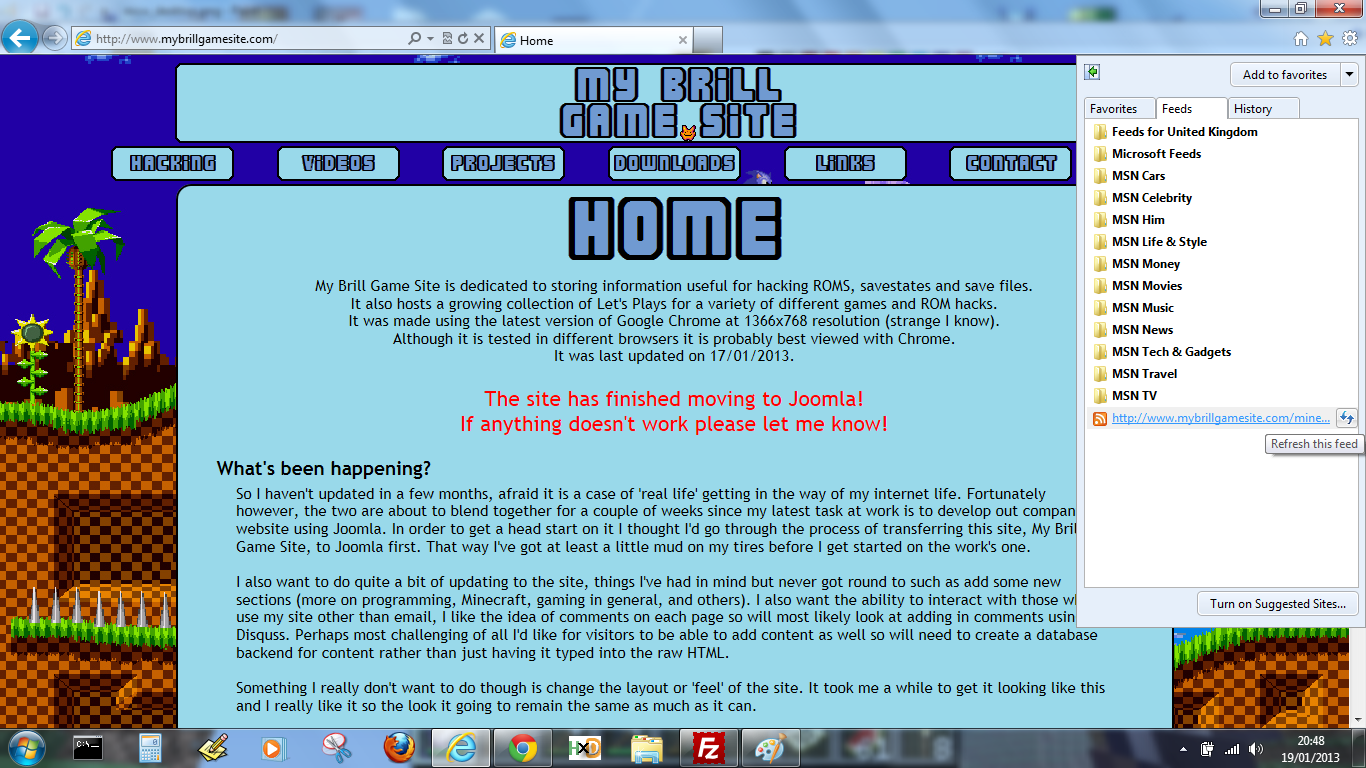
Open Internet Explorer (sorry, not sure about how to do it in any other browsers) and click on the star in the top right corner which says 'View favourites, feeds and history' when you hover over it. Select 'Feeds' and you should see your feed right at the bottom of the list. If you hover over that you will see a 'refresh' button you can click to force an update on the feed, really handy when testing.
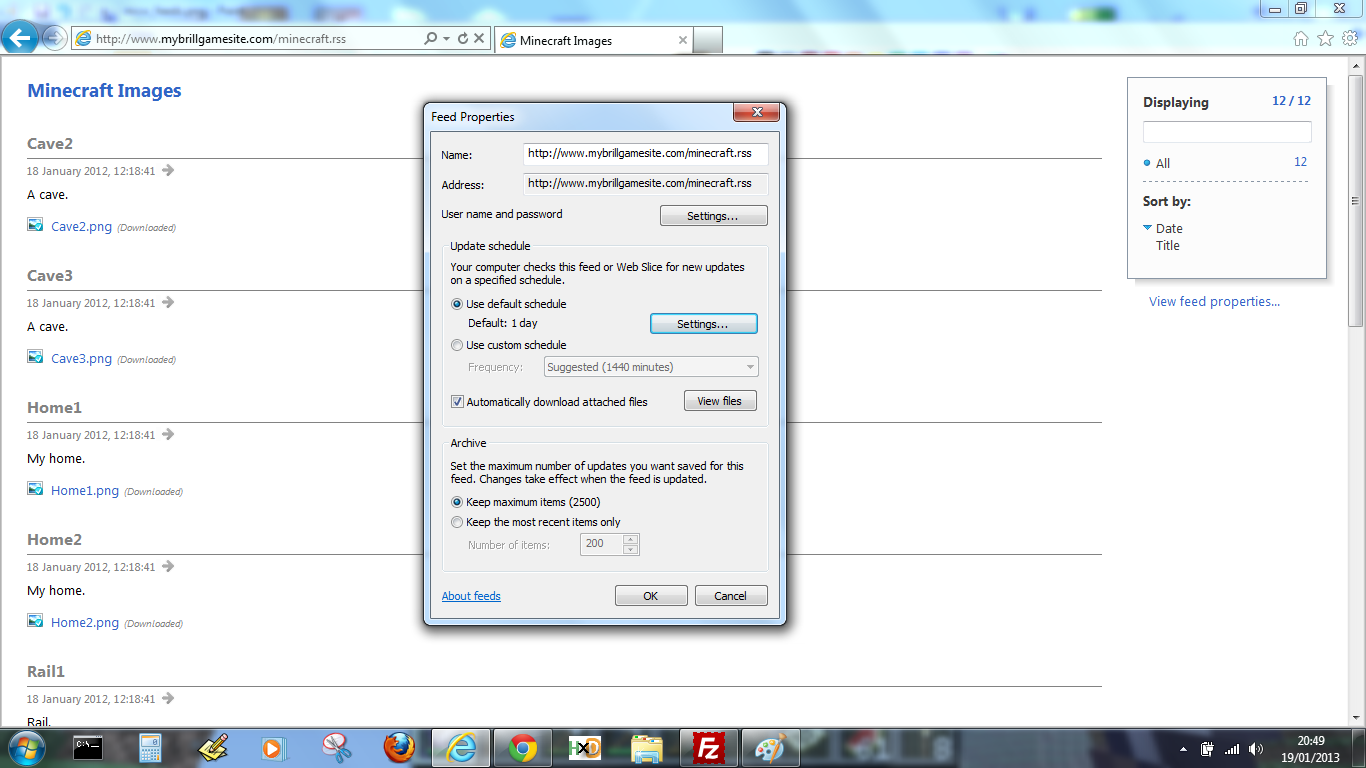
If you click on the feed you will be taken to a page that lists all the items in the feed. On the right of this page is a link labelled 'View feed properties...' which will open the 'Feed Properties' window. Here you can select the rate that it checks for new items, whether it should download them automatically (yes, it should!) and the amount of files it should keep.
10. That's it, we're done! Credit where credit is due though, I got the details for the .rss file here http://www.makeuseof.com and the .theme file from http://www.online-tech-tips.com so thank you to them for sharing their info.
Minecraft.theme - Right click and select "Save Link As..." then double click the saved file to install the theme.
If you want to know more about this project you can email me using the details in the About page.


